Energise the kids with Amanda’s six winter sport snacks

Winter sports season is upon us!
It’s winter sports season, when sideline superstars around the country are out cheering on their kids. What’s the best and easiest way to support your little champions? Pack a batch of these nutritionally approved, crowd-pleasing snacks. They’ll keep the kids fuelled up before, during, and after any game – and you can leave the orange slices to someone else!

“I’ve often thought I should change my name to ‘Am-Uber’ because I’ve spent so many weekends over the years ferrying my son and his various teammates between their winter sports. That said, I’ve always revelled in the sense of community these events bring, and, while I’m not exactly coach material, I’m more than happy to do my bit by going above and beyond the usual orange slices and packing up a batch of homemade goodies for the players.
Apart from them all disappearing in seconds because they’re so delicious, these snacks have been nutritionally approved. Plus, each recipe can be packed up easily into containers for transportation. Many can be frozen as well, so feel free to double or even triple the quantities to freeze for later. That way, you’ll have more time to work out the route to next week’s match.”
– Amanda
01
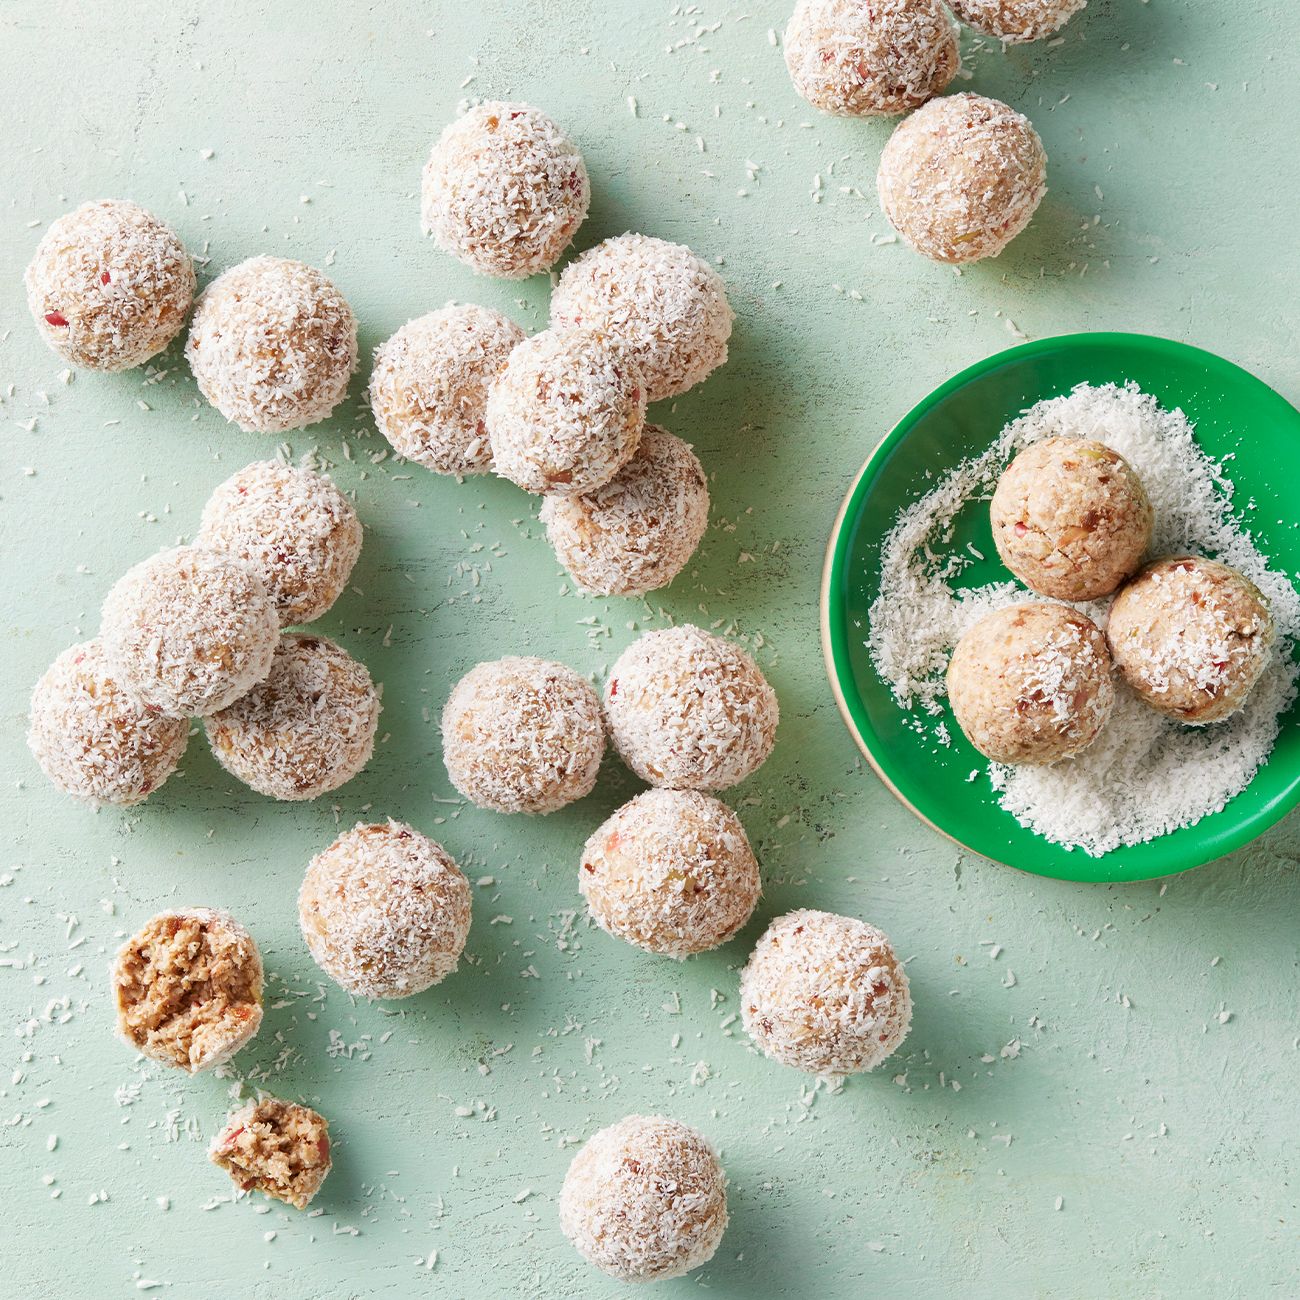
Apple & cinnamon bliss balls
These simple, no-cook flavour bombs can be stored and transported easily in an airtight container. The bliss balls will keep for up to three months in the freezer, too. They’re ideal for a pre-match pick-me-up, as they contain natural sugars from the dates and apples and they also have the goodness of rolled oats to sustain energy for longer. You may need to make enough for the spectators, though, because they taste so good.
02
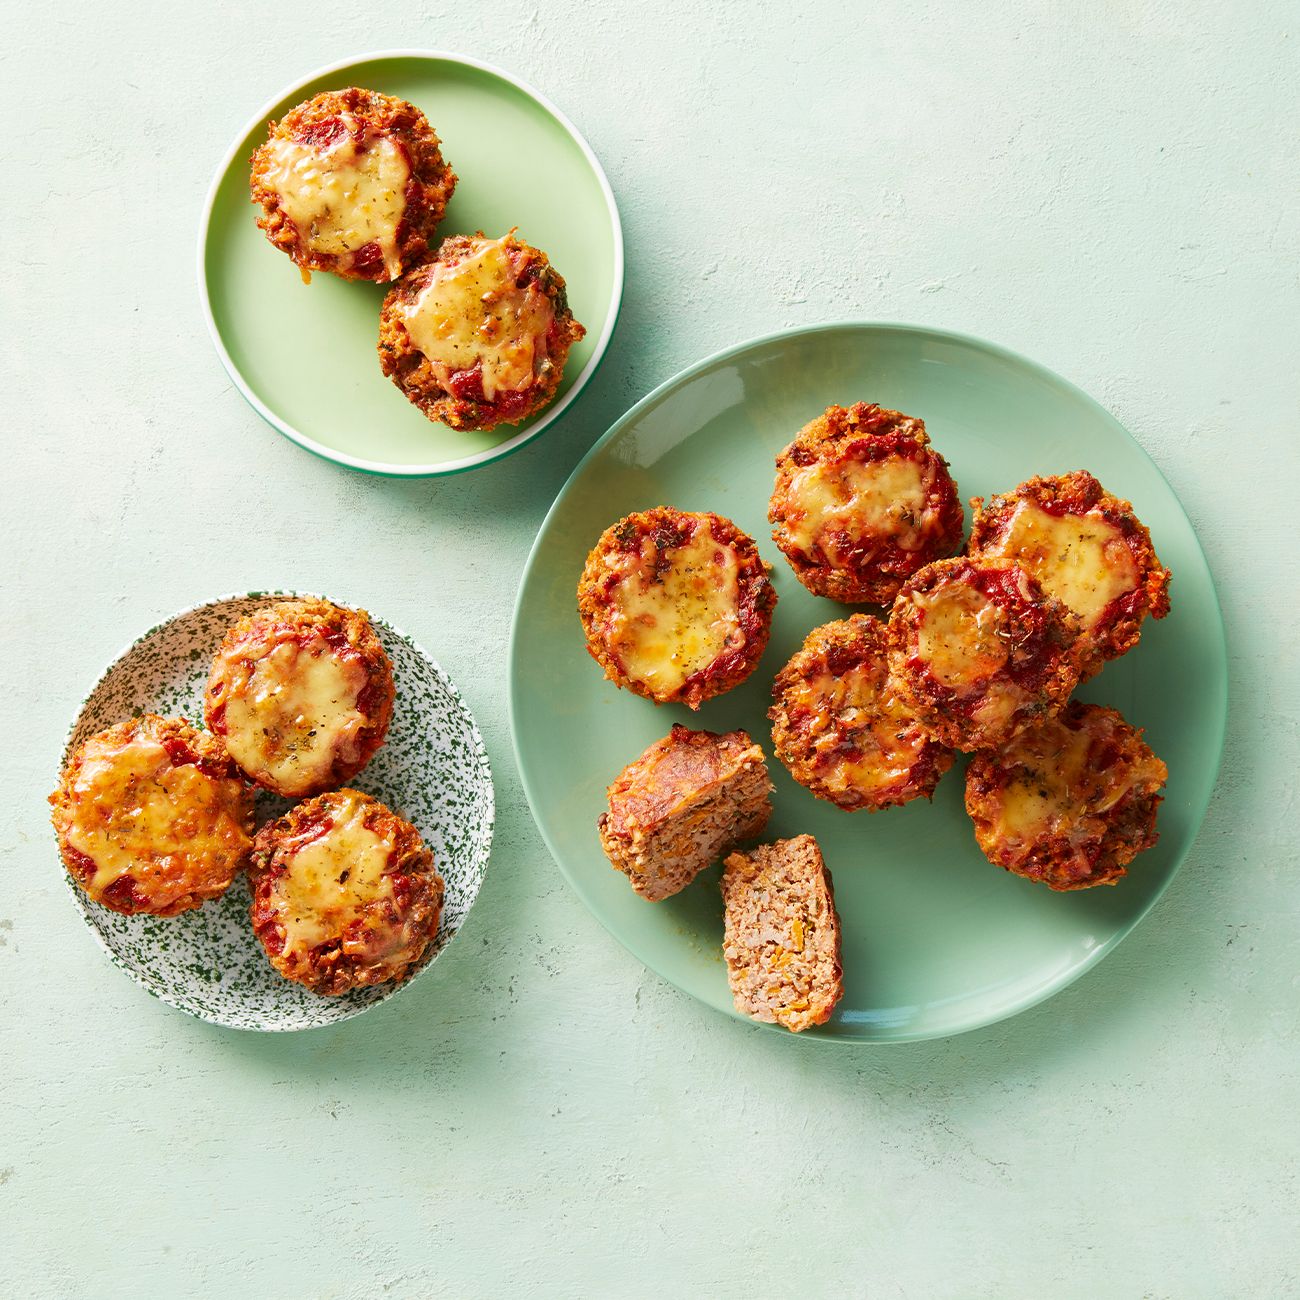
Cheesy beef & quinoa muffins
Filling, savoury and sure to keep the kids energised for longer, these meaty, cheesy snacks are a winner for the field. If you have time in the morning, they’re perfect served freshly cooked – just layer them with greaseproof paper in an insulated container to transport. If not, cook them ahead and store in the fridge for up to four days, or wrap them individually for the freezer, where they’ll keep for up to three months. Then, either heat them through and pack them in an insulated container, or pop them into an airtight container straight from the fridge to serve cold.
03
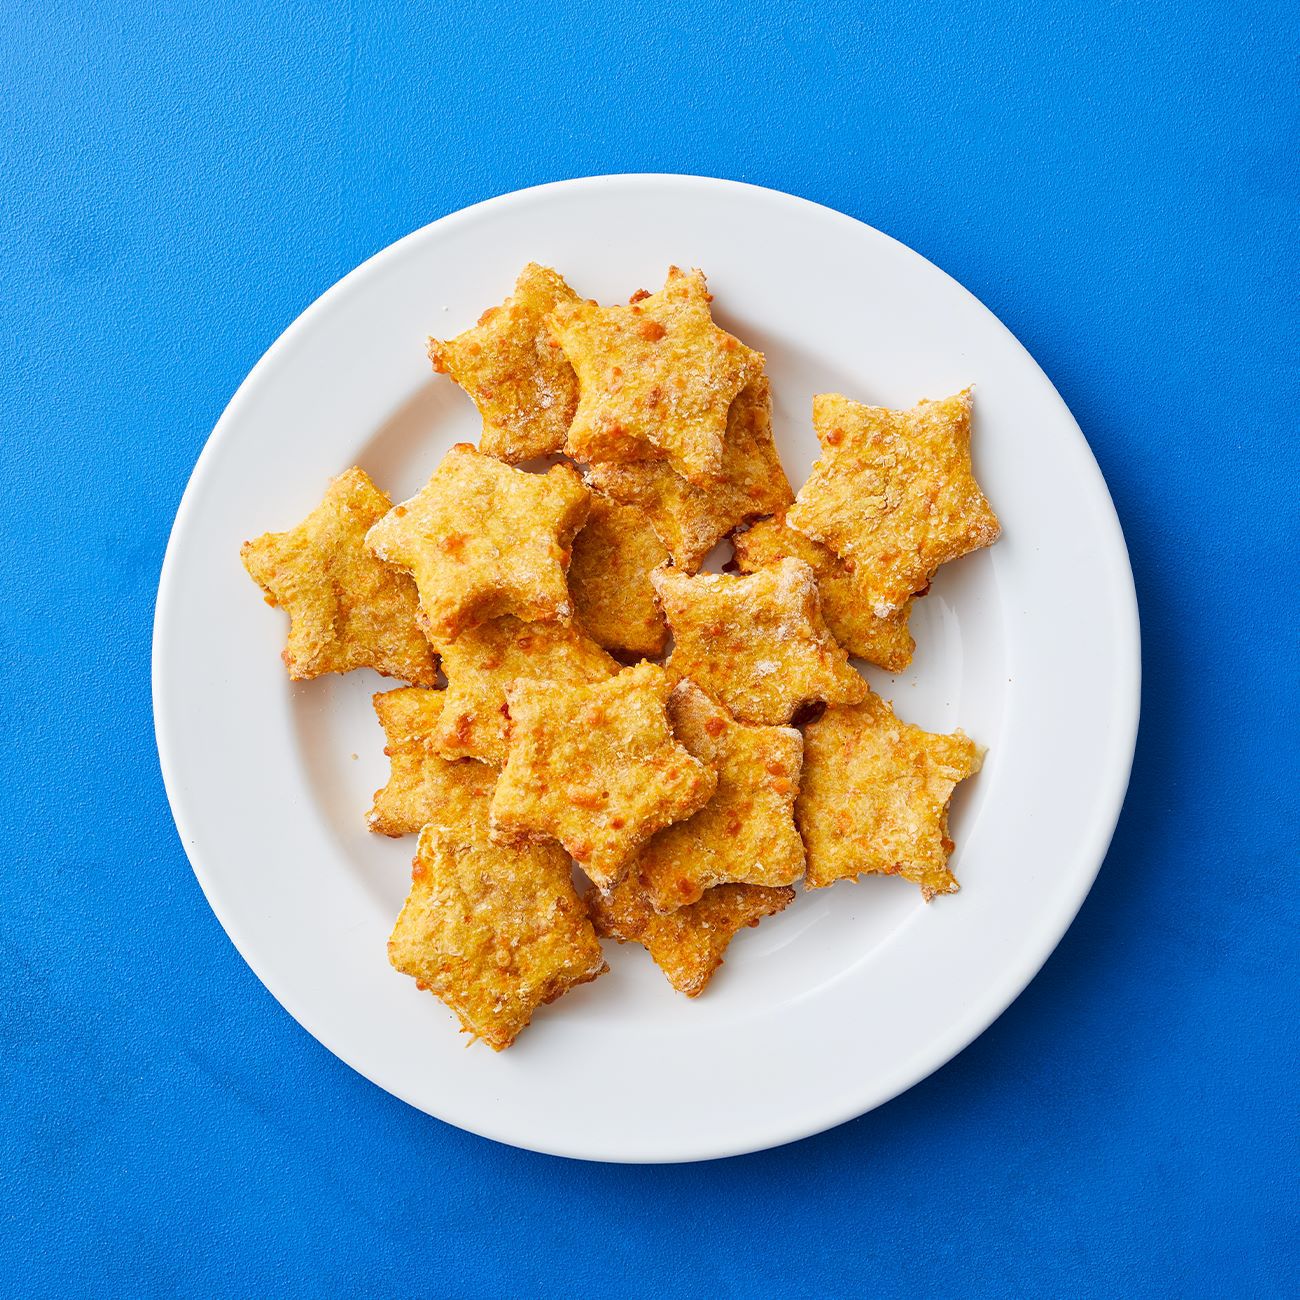
Veggie stars
These crisp savoury biscuits are so quick and easy to make that you could whip up a batch while the kids are still running around finding their sports gear. They’re ideal for fussy eaters as the carrot is disguised. These veggie stars can be baked ahead of time and stored in layers between greaseproof paper in an airtight container in the fridge. Feel free to use different cutter shapes – whatever you have on hand is fine.
04
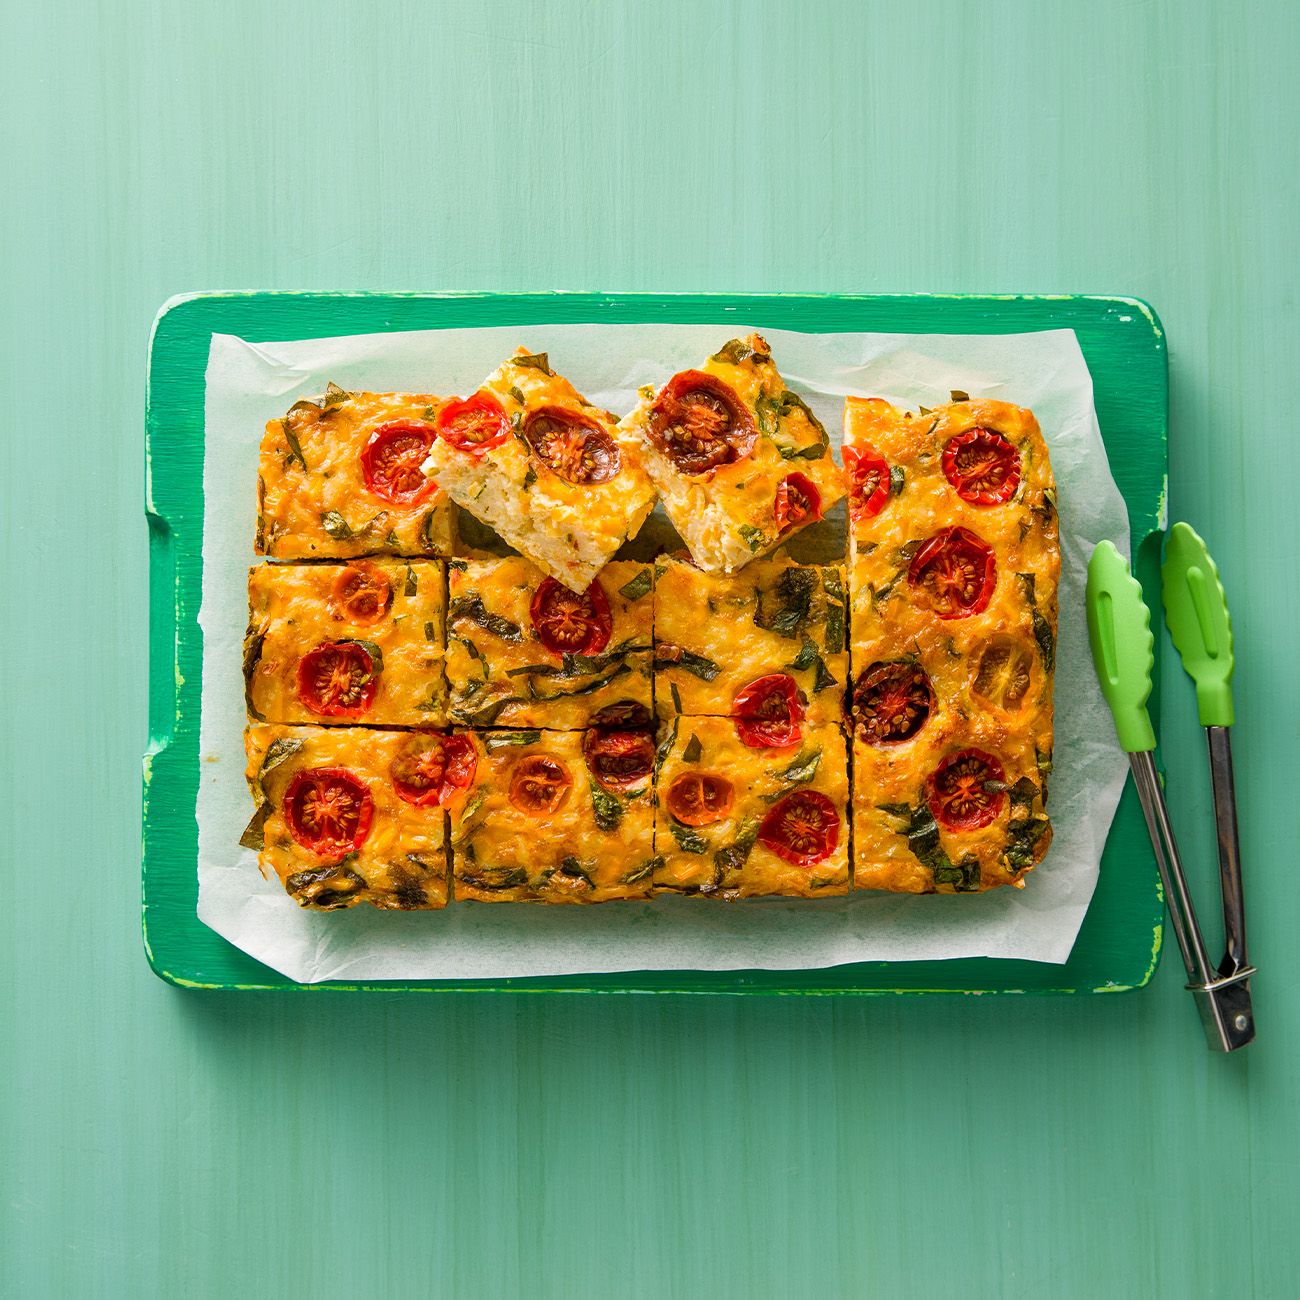
Traffic-light rice slice
Not only does this make a brilliant meat-free one-pan meal for a family dinner, it’s one of my go-to picks to feed a hungry team of kids because it contains veggies, rice, eggs and cheese. I sometimes swap out the white rice for brown rice to win more brownie points. Make it the night before, slice it into portions, and store it in an airtight container in the fridge, so it’s ready to go when you are.
05
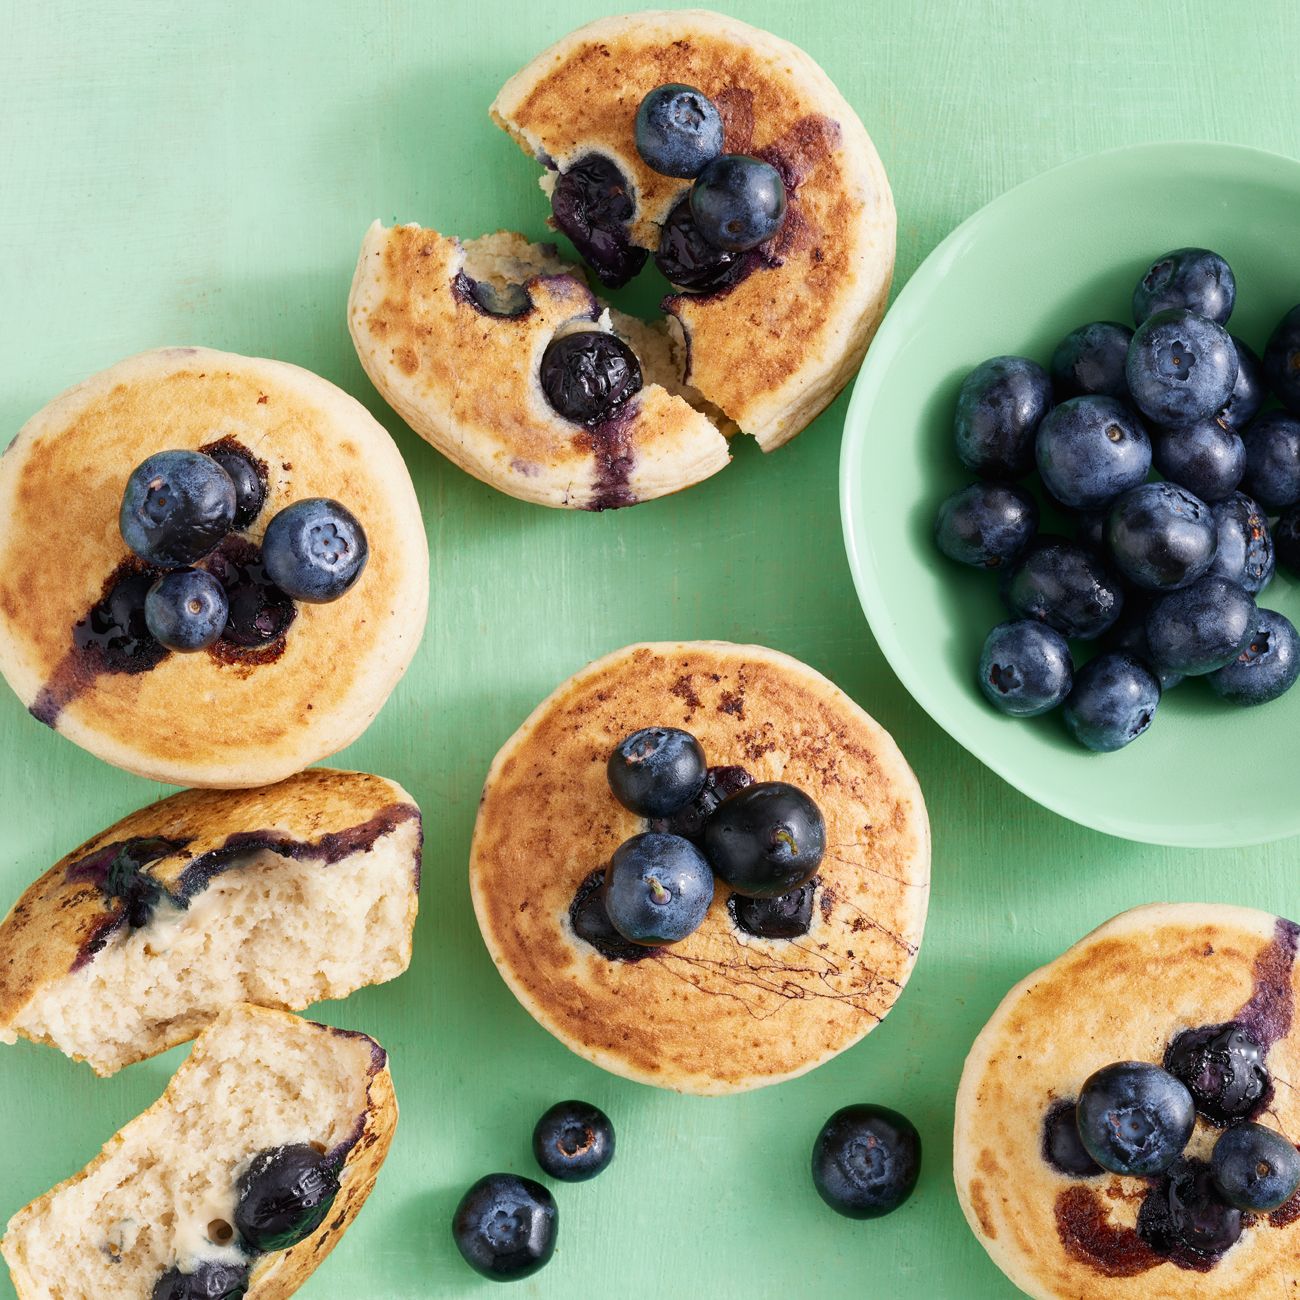
Blueberry puffins
These are perfect pie-maker treats, and ideal as a healthier after-school snack, too. A cross between a muffin and a pancake, they transport well in an airtight container, and taste as good cold as they do straight from the pie maker. Use any type of fruit purée you like and swap out the blueberries for any berries you prefer. I sometimes make a couple of batches with different combinations to mix things up.
06
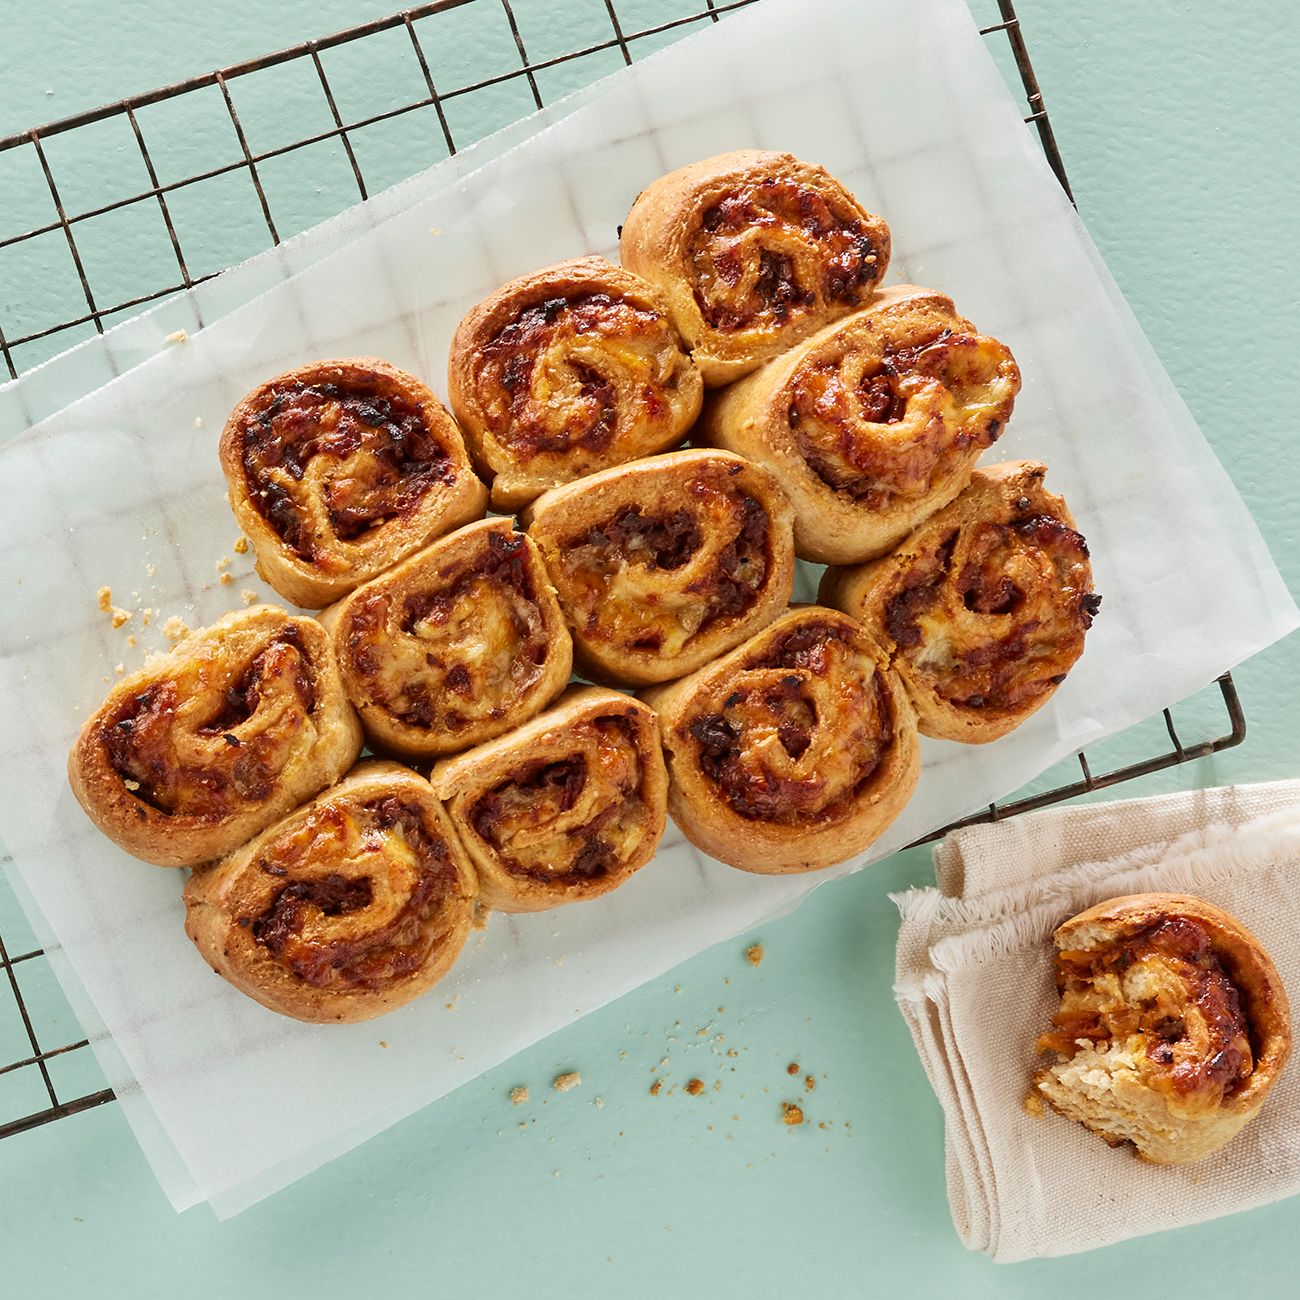
Bolognese scrolls
These hearty snacks are deceptively simple to make, and are just as tasty served at room (or sports-field!) temperature as they are straight from the oven. They make a great lunch box snack, too. My tip for making these is to brush a little extra milk along the 3cm border that you’ve left on one of the long sides of the rolled-out dough (see step 3). That will help it seal more easily when you’ve rolled the dough and filling into a log.

